Saturday, April 30, 2016

Technique: How I Bind My Quilts

A closeup of a quilt binding and an image of a finished quilt

When I started quilting, I knew that a hand-stitched binding was not for me. I didn’t have the patience for finishing a binding by hand—I wanted a faster route to a finished project!

I’ve tried just about everything when it comes to machine-binding my quilts ... Attaching to the front and then the back, attaching to the back and then the front. Sewing a straight stitch, sewing a zigzag stitch. Stitching in the ditch, stitching so there’s visible thread on both sides of the binding. Using pins, using glue, using clips, etc.

I found a process that worked for me years ago, and I’ve stuck with it: I attach the binding to either side, the front or the back, and finish with a straight stitch and a visible line of bobbin thread.

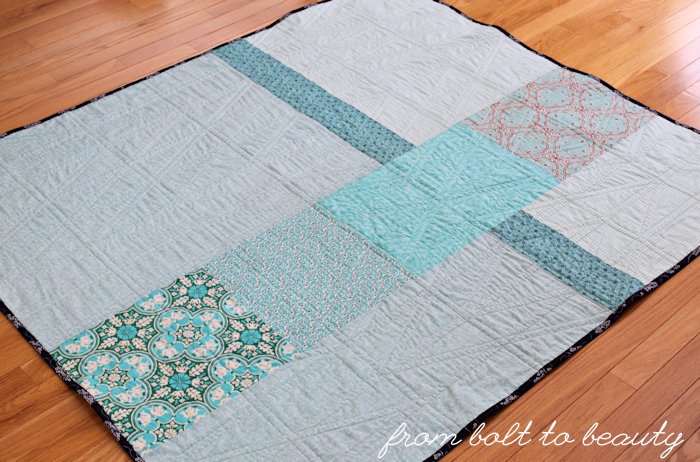
This is what it looks like on the side I initially attach it to ...


The binding edge of a finished quilt shown from the back

And here’s the reverse ...

The binding edge of a finished quilt from the front

It’s not for everyone. I’m sure that thread line parallel to the binding, which appears on the back of this quilt, would drive some of you batty. Plus, this approach often requires different colors for the top thread and bobbin thread. I don’t mind tempting the tension gods (they tend to cooperate with me!), and I like this technique because it’s pretty forgiving.

What follows are more details on how I bind this way. It’s a high-level view of the process. If you want the nitty-gritty details—making your binding, mitering your corners, etc.—there are links at the end of this post to other tutorials.

1. Attach the binding to the front or back.


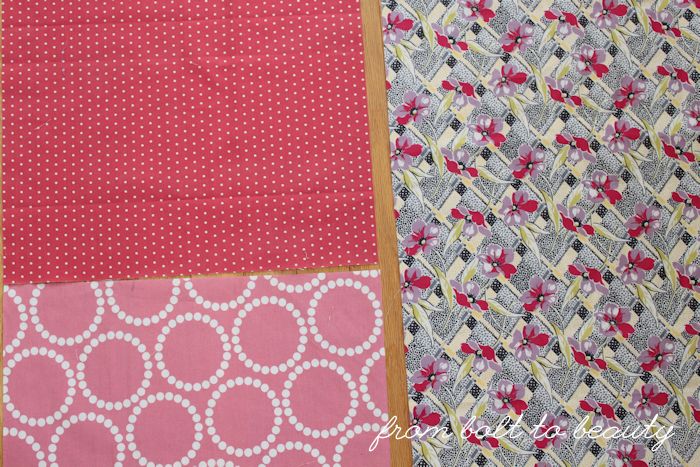
I use 2.5-inch width-of-fabric binding strips. (I know that bias binding would wear better over time, but I can’t be bothered to make it unless I’m working with a curved edge.) I determine which side to attach my binding to, picking the one that will better camouflage the line of stitching that runs parallel to the binding. (See the first pic above.) Then I sew my binding on that side, mitering the corners as I go.

2. Glue the corners.


The corners are the trickiest part of binding neatly, so to keep everything in place, I glue-baste mine. I start by pressing the binding at each of the corners from the side on which it’s attached. Next, I squeeze a thin line of washable school glue along the exposed corner, fold the binding over it, and use my iron to set the glue for 3 to 5 seconds. 

If the product doesn’t look nice, I slowly release the fabric with my finger, reglue it, and try again. After the glue is set, I still use a Wonder Clip on the corner for good measure.

The glue is nontoxic and will come out during the quilt’s first washing.


3. Press the binding.


With the corners ready to go, it’s time to press the binding. I like to set my stitches with my iron first; I think it makes the fabric more malleable and creates a crisper fold. Then I fold the binding away from the side I’m working on, and press again.

I do this for one of the four edges of the quilt and then proceed to the next step.

4. Clip the rest of that edge.


I used to glue-baste all around my binding, but it was messy and I didn’t think the results were worth the hassle. Now I like the precision I achieve by simply clipping the binding down before sewing.

I make sure to give myself wiggle room here. As you can see from the first picture in the post, I have less than an eighth of an inch of clearance, but if I take my time, this is enough and I rarely catch the other side of the binding in the seam accidentally.


5. Sew that edge.


I back-stitch at the beginning and end of that edge, and I pull the quilt off my machine to prepare the next one.

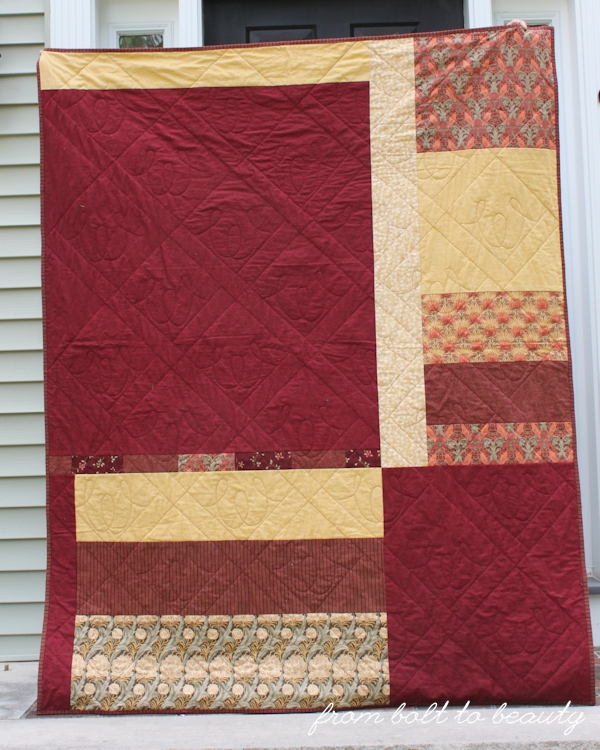
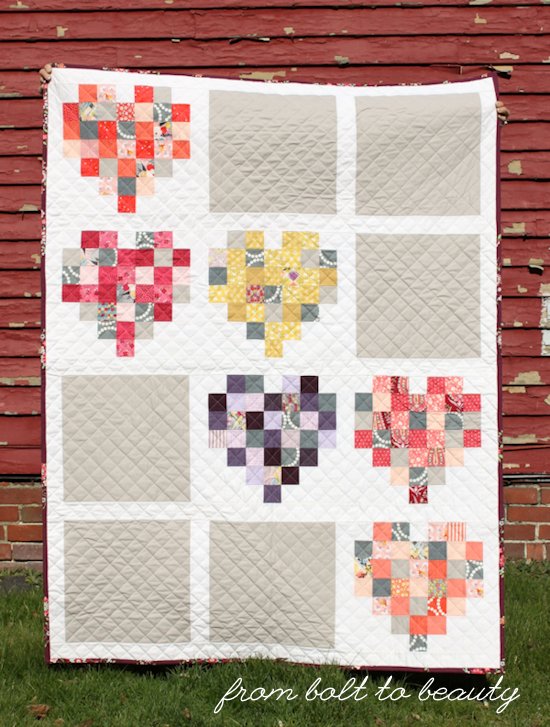
Here is the bound quilt! For more on this quilt, see this post.


Additional resources

When I first started quilting, I thought machine-binding was cheating. What would the quilt police say?! In the years since, I have displayed quilts at shows and received feedback from judges that my pretty and precise machine-binding was an asset. : )

In my mind, choosing how to bind your quilt is a matter of preference. Everyone does it a little differently, and perhaps by peering into my process, you might tweak your own protocol.

For more tutorials on binding, see:

* Karen’s Quilts, Crows, and Cardinals: The technique here of folding the start of the binding and placing a pin through the top layer of the end is how I join my binding ends. This tutorial is long but has lots of helpful pictures. Over time, this approach has become second nature. I’ve only ever followed it to do a flanged binding here.

* Red Pepper Quilts: I used to zigzag the raw edges of my binding as done in this tutorial. Now I can’t be bothered with that extra step.

* Jaybird Quilts: I follow this tutorial when I can get away with a single-fold binding.

* Stitched in Color: I’ve tried using a decorative zigzag stitch to finish off the binding, but I get less-than-stellar results.

[Updated March 3, 2021]

Follow Me On ...


Tuesday, April 19, 2016

Cross My Hearts: A Finished Quilt

Do you remember the less-work patchwork hearts I posted back in January? Let me jog your memory. I used some Pellon ultra lightweight fusible interfacing and a clever shortcut to sew up some big heart blocks and posted a corresponding tutorial. I planned to incorporate the hearts in a throw-size quilt, and I’m happy to reveal that finish today ...


There are many things to celebrate with this finished quilt. I used a bunch of scraps in the hearts and pulled almost all the other fabric from my stash. I quilted the fabric that was fused with the Pellon product with success. Now I have a throw I can gift to a friend who has no idea it’s coming her way. Just-because gifts are the best, aren’t they?

To learn how I piece my backs, click here.

I do want to share a few thoughts on the particulars of this project—in case you have some interfacing in hand and are plotting your own shortcut quilt ...

Fabric fused with interfacing behaves differently than straight-up quilting cotton. 

Most of the time, we use interfacing to make a fabric more substantial, to give it body and a firmer hand. That’s great for a bag project, but if you interface your quilting cottons, you can’t fudge things you might otherwise. There isn’t any give, making the fabric less willing to be coaxed into submission.


If you’re going to fuse your blocks, you’ll have to fuse the whole quilt top.

When I started making my pixelated blocks, the quilt design wasn’t fully developed. Once I decided upon the big solid squares and sashing, I knew I had to back them with the same interfacing. The Pellon product doesn’t drastically change the hand of quilting cotton, but it does add some weight and a quilt top of some fused fabrics and other nonfused fabrics wouldn’t have worked.

It wasn’t hard to fuse the interfacing to those other fabrics, but it seemed to defeat the idea of using the interfacing with the heart blocks to save time. And I did have a leftover heart block. Incorporating it in the quilt back wasn’t an option—there was no way I would interface the yards of other fabric I used there!

Amazon Prime’s contracts with the BBC may affect your productivity with such a project.

I decided to rewatch Doctor Who, starting with season one, before embarking on this project. Before I finished the quilt and the series, Amazon’s contract for the show expired. Bah! This quilt’s name—Cross My Hearts—is a nod to my favorite two-hearted alien. : )

What do you do while you sew? Do you Zen out and become one with your project, or do you, like me, need a distraction? I’m in between streaming shows right now and have been listening to the Hamilton soundtrack instead. Any suggestions?

Linking up to Let’s Bee Social, Needle and Thread Thursday, and Finish It Up Friday ...

Follow on Bloglovin

Monday, April 11, 2016

Technique: How I Piece My Backs

I love the look of a pieced quilt back. In fact, there have been times when I’ve had enough of one fabric to make an entire back and have chosen to cut up that yardage, incorporate other fabrics, and piece one instead.

What’s better than one pretty fabric on the back of a quilt?
Many pretty fabrics!

When it’s time to make my back, the recipe I follow is simple. I take a 2-yard cut of fabric and cut it length-wise. (I don’t bother removing the selvages.) I don’t like things to be too symmetrical, so I’ll cut the length about 25 inches from the left edge.

Then I figure out how much fabric I’ll need to add to the center to accommodate the width of the quilt top. I head to my stash, and sometimes my scrap bin, to find coordinating bits. I sew them up in a column and attach the sides.

Everything is laid out and ready to be sewn.

I like this approach because it produces a chunky back, one that doesn’t compete with the top for the spotlight and one that’s not too fiddly to sew.

This technique also helps me be a smarter stasher. When I find a fabric on sale that would work well as the main fabric in a pieced back, I buy a 2-yard cut of it. Most of my quilts are throws, so by buying 2 yards, I’m stashing enough fabric to cover the length of a throw-size quilt plus a few inches of overage.

Ta da! One lovely pieced back.

Not all my backs work out this way. There are those for which I needed to sew a 2-yard swath of fabric before cutting it length-wise and adding the center column ...

Click here to read more about Bring on the Dancing Horses

There are those for which I sewed something similarly chunky without following the 2-yard recipe ...

Click here to read more about Good Day Sunshine.

And there are those that included multiple miscuts, small bits of fabric, and headaches all around ...

Click here to read more about Lotus Blossom.
 
How about you? Do you piece your backs? And if you do, what trends can you identify in your approach?

To see the finished quilt that goes with the pink and purple back at the top of the post, visit again soon. If the weather cooperates, I’ll take pictures and write a post later this week. : )

Linking up to Sew Cute Tuesday, Let’s Bee Social, and Needle and Thread Thursday ...

Follow on Bloglovin